Coffee grinder calibration and zero point so your settings make sense
Published
Learn how to find your grinder's true starting point and use it to make grind settings repeatable across beans, brew methods, and cleanings.
Reading time: 8 minutesBest for: Home coffee drinkers who want repeatable grind settings for espresso, drip, pour over, French press, or cold brew.
Zero point explained: what it is, why it changes, and what it is not
The zero point is the adjustment position where the burrs just touch each other. Burrs are the shaped cutting surfaces that crush beans to a controlled gap. When the gap is zero, there is no room for coffee to pass through, so this point becomes your reference. Some grinders mark it at "0," some do not, and some have a factory sticker that is only approximate. Your usable grind settings are always some distance away from this touch point.
Zero point can shift over time because parts settle, burrs wear, the adjustment collar loosens, or you reassemble the grinder slightly differently after cleaning. It can also feel different depending on whether the grinder is running, whether there are beans in the chamber, and how much old coffee is packed inside. What it is not: a promise that "espresso is at 10" or "pour over is at 20." Those are starting points at best, because beans, humidity, and dose size change how fine you need to grind.
How to find your grinder's zero point without damaging burrs
Start with an empty grinder. Remove beans from the hopper (the bean container) and run the grinder briefly to clear the chamber, if your grinder allows running empty. Then adjust finer in small steps. On many electric burr grinders, it is safest to make fine adjustments while the motor is running, because beans and grounds are less likely to jam between burrs. On many manual grinders, you can adjust while turning the handle slowly so the burrs are moving as you approach touch.
You are listening and feeling for first contact, not forcing anything. First contact may sound like a light chirp, tick, or brief scrape. The moment you detect it, stop and back off slightly coarser. If you have to crank hard, if the motor strains, or if the sound is harsh and continuous, you went too far. Back off immediately. Once you find that touch point, note it in a way you can repeat: a mark on the collar, a written "chirp at 2.3," or a count of clicks from touch (for click-based hand grinders).
Setting a repeatable baseline for espresso, drip, and coarse brews
After you find zero, set a baseline using a method that matches how you actually brew. For espresso, pick one coffee and one basket size, then choose a target shot time and yield you can repeat. Make small grind changes from your baseline and write them down as "X clicks from zero" or "Y marks coarser than chirp," not just the printed number. Espresso is sensitive because tiny burr-gap changes can swing flow rate and cause channeling (water finding fast paths through the puck), which tastes sour, bitter, or both.
For drip and pour over, your baseline should be tied to brew time and clarity. If the brew runs fast and tastes thin or sour, go finer. If it stalls and tastes harsh or dry, go coarser. For French press and cold brew, your baseline should prioritize fewer fines (dusty particles) so the cup is not muddy. If you see lots of sludge and bitterness, go coarser and consider whether your grinder produces too many fines at coarse settings. Record baselines separately for each method, because "same number" across methods is not the goal. Repeatability is.
When your numbers drift: symptoms, causes, and quick fixes (including after cleaning)
Drift shows up as sudden flavor swings or timing changes at the same setting. Espresso might run 10 seconds faster than yesterday, or a pour over might suddenly clog and slow down. Common causes include: the adjustment collar moved, the burr carrier was reinstalled slightly differently after cleaning, the grinder is packed with old fines and oils, or you changed dosing style (hopper-fed vs single dosing) and retention is mixing old grounds into new.
Quick fixes start with the simplest checks. Confirm the collar is locked (if your grinder has a lock). Purge a small amount of coffee to clear retained grounds, especially after changing settings or beans. If you cleaned the grinder, expect to re-dial because the first few doses can behave differently once old oils and packed fines are gone. If drift keeps happening, re-find zero and reset your "clicks from zero" notes. Also watch for static and clumping: if grounds stick in the chute, your dose weight can vary, which looks like grind drift but is really inconsistent dosing.
What this guide helps you understand
Find your burr-touch zero point, then record settings as distance from that point (clicks or marks), because that reference survives bean changes and makes re-dialing after cleaning much faster.
Grinder must be empty of beans before searching for burr touch.
A way to record settings relative to zero (notebook note, tape mark, or click count).
Products that fit this practical guide
As an Amazon Associate I earn from qualifying purchases.
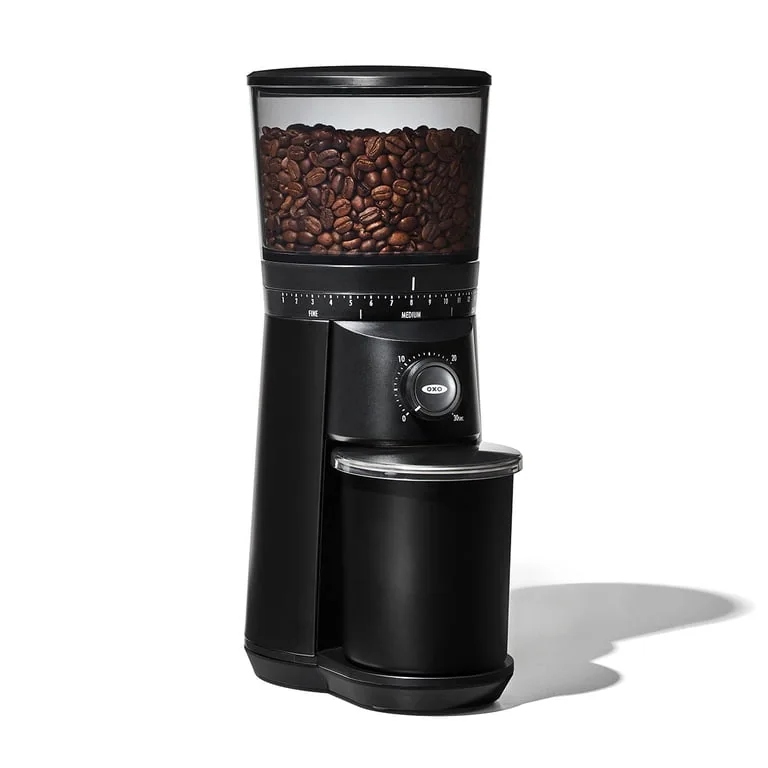
OXO Brew Conical Burr Coffee Grinder fits most home coffee drinkers who want a dependable burr grinder for daily drip, pour-over, and French press without overthinking it.
If your grinder's manual warns against adjusting finer while stopped, follow that. Some designs can jam if you tighten the burr gap with coffee trapped inside.
Safety note: Do not force the adjustment past first burr contact. If the motor strains or the handle locks up, back off immediately to avoid damaging burrs or the drive mechanism.