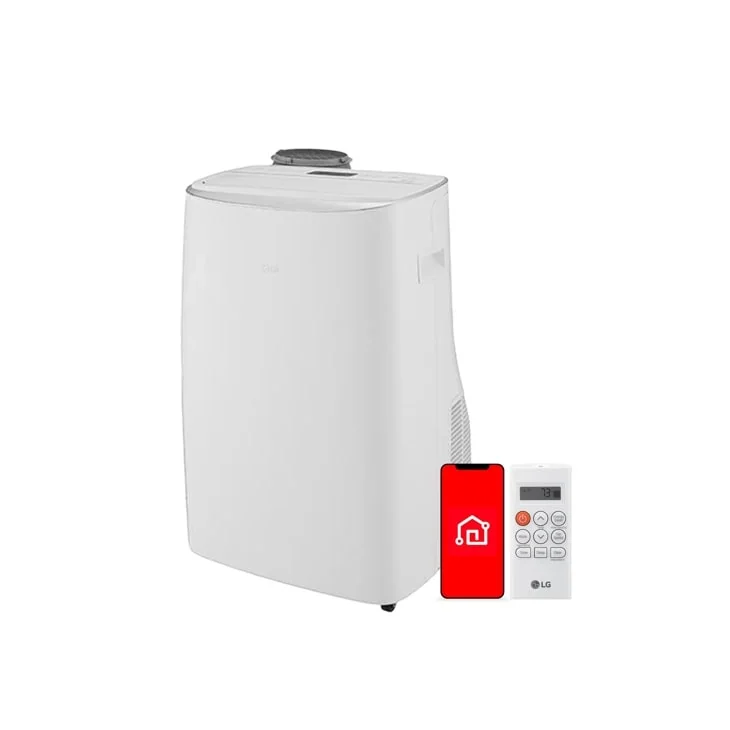
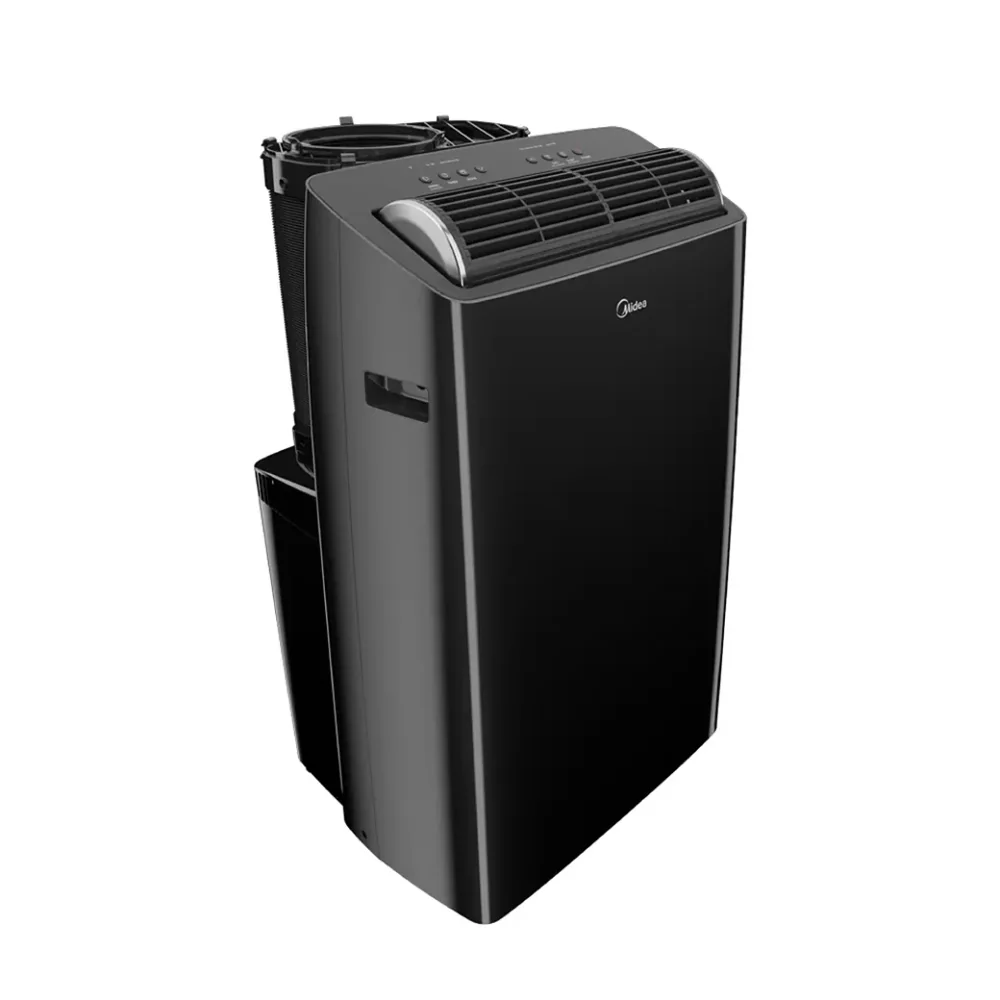
Drain every water path
Start by turning the unit off and unplugging it. Then identify every place water can be: the internal tank (if your unit has one), the lower drain port, and any continuous drain connection you used during the season. Many units have more than one drain point for different modes, so check the manual's diagram and do not assume one drain empties everything.
Drain into a shallow pan so you can see when the flow stops. If the unit has a pump feature, do not rely on it for storage prep. Gravity draining is more predictable. After draining, reinstall drain caps and plugs snugly so they do not get lost, but do not overtighten soft plastic threads. If you used a drain hose, empty it too and store it where it will not kink.
Dry the inside
After draining, you want the inside surfaces to dry out. A simple method is to run fan-only mode for a while so room air moves across the coil and internal channels. This helps evaporate leftover moisture that did not make it to the drain port. If your unit does not have a fan-only setting, you can run the lowest cooling setting briefly, then switch off cooling and let the fan run if the controls allow it.
Pay attention to odor. A sour or musty smell at shutdown is a sign moisture and dust have been sitting on the coil. Drying helps, but it does not remove buildup. If the unit has an accessible coil area behind a filter, keeping that area clean during the season reduces end-of-season funk. Do not spray cleaners into the unit unless the instructions specifically allow it, since overspray can reach electrical parts.
Clean and inspect parts
Remove and clean the air filter. Most portable AC filters are washable mesh screens that catch lint and dust. Rinse with water, let it dry fully, and reinstall or store it separately so it does not trap moisture. A dirty filter restricts airflow, which can cause weaker cooling and more ice or water issues during use, so starting next season with a clean filter matters.
Inspect the exhaust hose and window kit. Look for cracks, crushed sections, or loose cuffs that could leak hot air back into the room. Wipe the hose exterior and the window panels so sticky dust does not harden over the winter. If your window kit uses foam seals, check whether they are torn or permanently compressed. Replacing worn seals next season can improve comfort as much as upgrading the machine.
Store upright
Store the unit upright in a dry place where it will not freeze or sit in direct sun. Upright storage matters because the compressor contains oil that should stay where it belongs. If the unit is stored on its side, oil can migrate into the refrigerant lines. The next time you run it, performance can suffer and the compressor can be stressed. If you must tip it briefly for moving, keep it upright for a long while before powering it on again.
Protect the hose and window kit from crushing. The easiest approach is to detach the hose, collapse it gently, and store it in a box or bag so it does not get stepped on. Keep the window kit panels flat. Before the first use next season, reinstall the hose, confirm the window seal is tight, and run the unit for a short test cycle. Catching a leak or a drainage issue early is much easier than troubleshooting during a heat wave.
What this guide helps you understand
Good storage is water out, air paths clean, and the unit kept upright: drain completely, fan-dry the interior, clean the filter, and protect the hose and window kit so the AC can start the next season without odors or leaks.
Before storing, drain the unit and run fan-only long enough that no damp smell remains, then store the AC upright with the hose detached and protected.