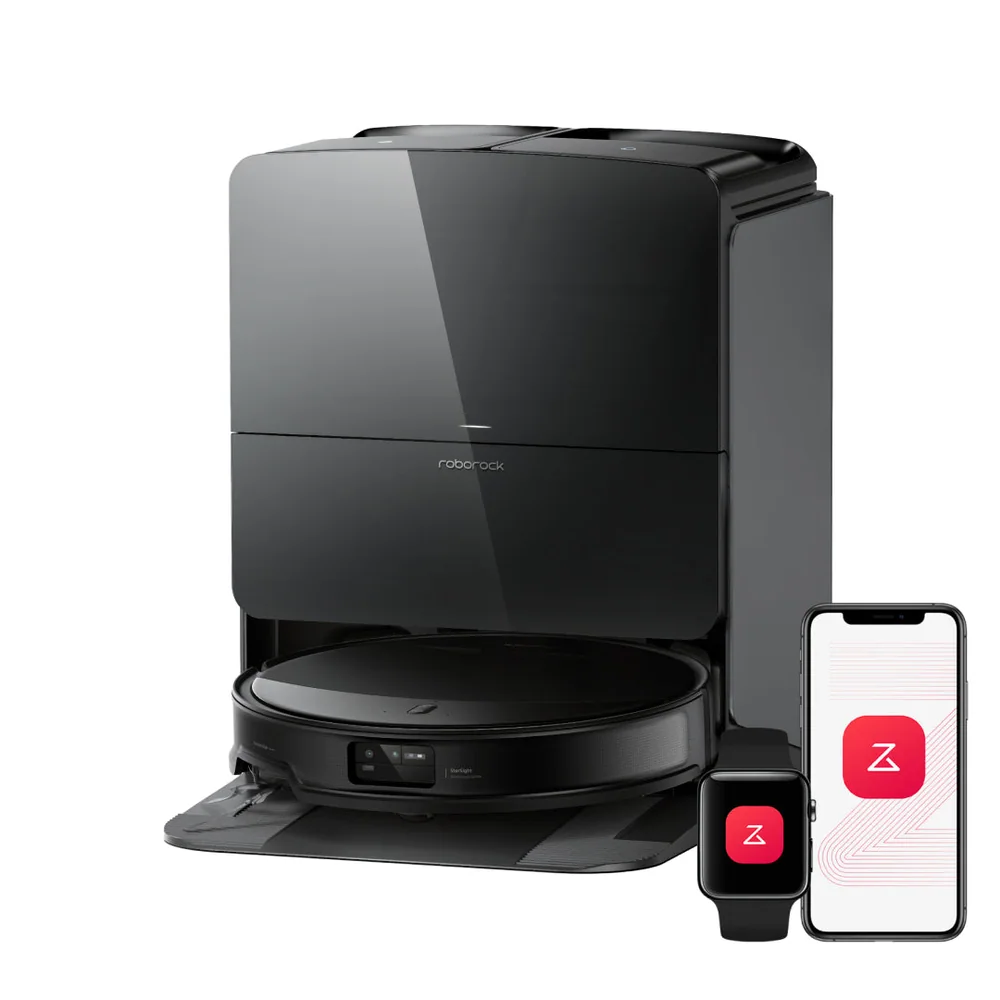
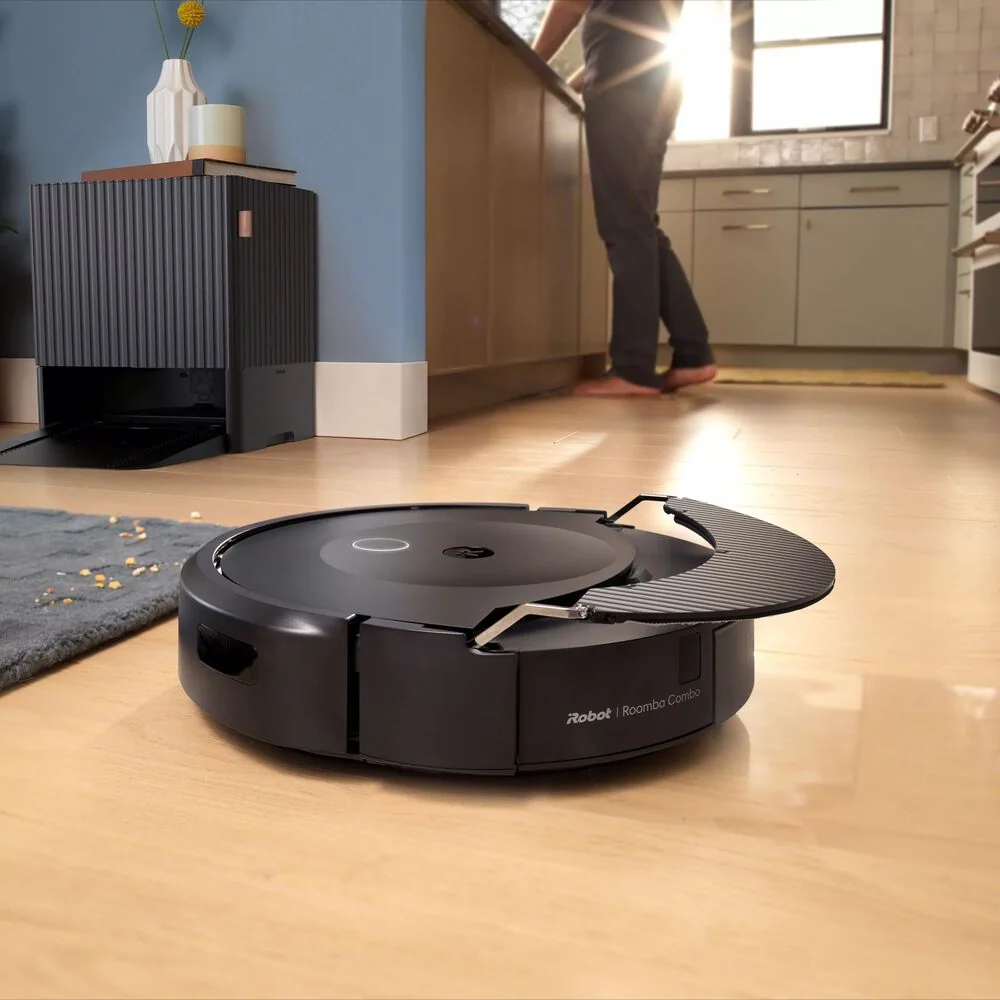
Build a clean first map: doors, lighting, mirrors, and floor prep
The first mapping run should be boring. Open the doors to any rooms you want included, and close off areas you never want the robot to enter. Remove temporary clutter that changes the floor shape: laundry piles, backpacks, pet toys, and loose cables. If you have chairs that normally live pushed in, push them in. The robot builds its understanding of "where walls are" from what it sees and bumps into. If the first run is chaotic, the map will bake in that chaos.
Lighting and reflective surfaces can also affect mapping. Robots that use cameras can struggle in very dim rooms, and bright sunlight glare can confuse what the robot thinks it sees. Mirrors and floor-to-ceiling glass can make a robot "discover" a fake room behind the reflection. If that happens, cover the mirror temporarily for the mapping run or block the area with a physical barrier. After the map is created, keep the dock location and major furniture placement consistent so the robot does not constantly reinterpret the space.
Room splitting and merging: when the robot keeps inventing new rooms
Room edits work best when the map has clear boundaries. If the robot keeps splitting one room into two, it is usually because it sees a narrow pinch point, a threshold, or a repeated obstacle pattern that looks like a doorway. Rugs with tall edges, baby gates, or a dining table with lots of chair legs can create "false corridors." Try mapping with chairs pushed in and gates removed, then add no-go lines later to keep the robot out of trouble spots.
If the robot keeps merging two rooms, it may not be recognizing the doorway as a boundary. That can happen with wide openings, open-plan layouts, or when doors are always open. Use the app's room divider tool to draw a clean split where you want the boundary, then name rooms in a way you will actually use for scheduling (for example, "Kitchen," "Entry," "Dog area"). If the map keeps drifting after edits, do not fight it with endless micro-edits. Fix the physical cause first, then remap once in stable conditions.
No-go zones vs no-mop zones: what each one prevents in real life
A no-go zone is a "do not enter" rule. Use it for places that regularly trap robots: cable nests, floor vents that snag side brushes, tight chair clusters, or a low-clearance sofa where the robot wedges itself. Make the zone slightly larger than the hazard so the robot does not skim the edge and still get caught. If your robot supports no-go lines, they are useful for long boundaries like a fireplace hearth edge or a row of pet bowls.
A no-mop zone is different. It tells the robot it can vacuum there but should not mop there. This matters for rugs, carpeted rooms, and any area where a damp pad would leave streaks or drag dirt. If your robot automatically lifts a mop pad, you still may want no-mop zones for thick rugs where the pad can catch. If your robot does not lift the pad, no-mop zones are essential unless you plan to remove the mop attachment before carpet runs.
Zone cleaning for high-traffic areas: kitchens, entryways, and pet bowls
Zone cleaning is the most practical mapping feature for daily life. Instead of running the whole house, you draw a rectangle over the area that gets dirty fastest, like the kitchen cooking zone, the entry mat area, or the litter box perimeter. This saves battery and reduces wear because the robot spends time where it pays off. It also helps if your home has rooms that are often occupied. You can clean around them without sending the robot everywhere.
Set zones with the robot's behavior in mind. Include a little buffer around the target area so the robot can make turns without leaving a dirty strip. For pet bowls, consider two zones: one for vacuuming crumbs and one no-go or no-mop boundary to prevent bumping water bowls or dragging a wet pad through spilled water. If the robot repeatedly misses part of a zone, check for obstacles that appear only sometimes, like bar stools that get pulled out during dinner.
What this guide helps you understand
A stable map comes from a stable environment. Do one clean mapping run with consistent doors, lighting, and furniture, then use room edits for scheduling, no-go tools for repeat trap spots, and zone cleans for the areas that get dirty every day.
First map run completed with floors cleared of temporary clutter and doors set to match your normal cleaning routine.