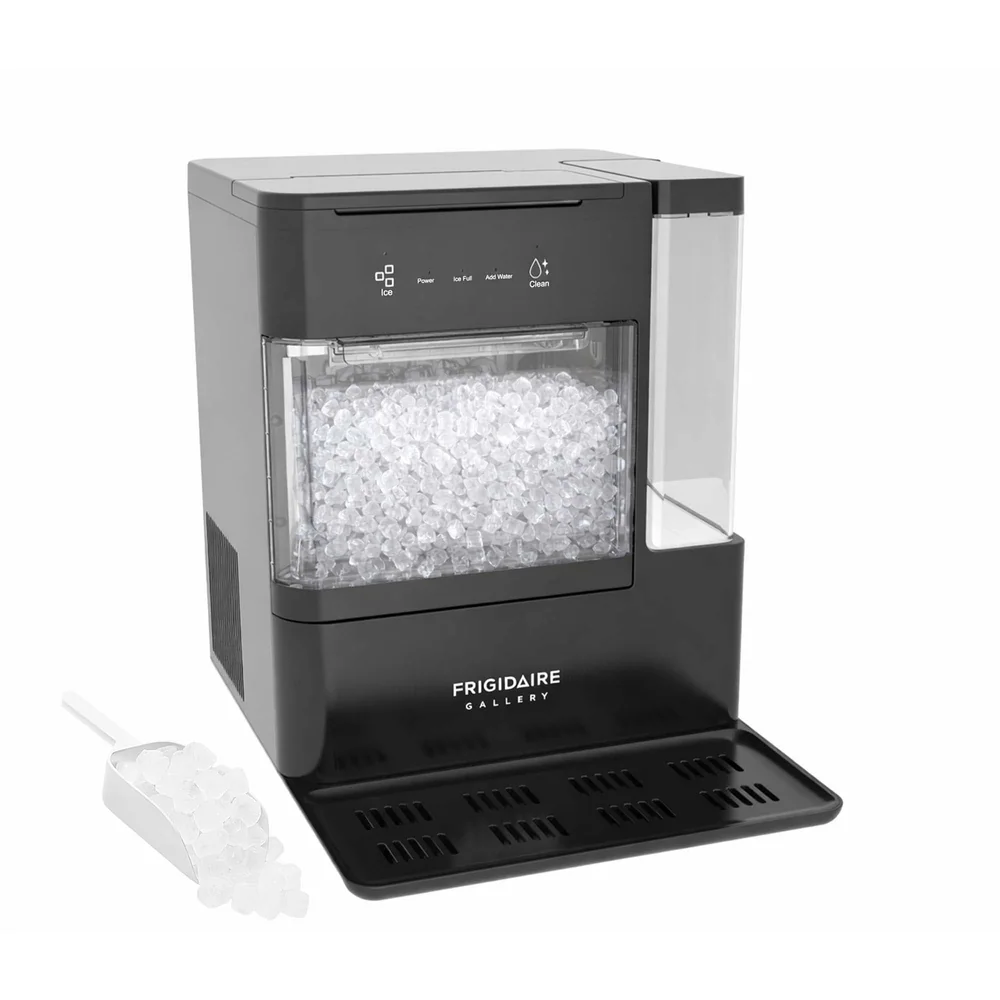
Understand how countertop ice makers hold and release water, and choose a drain setup that fits your counter space, sink access, and storage habits.
Reading time: 9 minutesBest for: Anyone deciding where to place an ice maker and how to handle leftover water without mess or stale taste.
Manual drain plugs: simple, but placement matters
Many countertop ice makers use a bottom drain plug. You pull the plug and water flows out. It is simple and reliable, but it forces you to think about gravity and access. If the machine sits flat on a counter, you often need to lift or tilt it to get a container under the drain. That can be awkward when the reservoir is full, and it increases the chance of spills, especially if the machine is heavy or tucked under cabinets.
If your unit has a bottom plug, plan a "drain spot" from day one. A counter next to the sink is easiest, because you can slide the machine to the edge and drain into a bowl, pitcher, or directly into the sink if the drain location lines up. If you cannot place it near a sink, choose a stable container with a wide opening and drain slowly. After draining, leave the plug out briefly to let drips finish, then reinstall it securely before refilling.
Drain hoses and gravity: avoid kinks, backflow, and surprises
Some machines let you attach a drain hose. This can be cleaner than a plug, but it still relies on gravity unless the machine has an active drain pump (many do not). Gravity drainage means the hose outlet must be lower than the machine's drain port. If the hose runs uphill, loops high, or gets kinked behind the machine, water will drain slowly or not at all, and you can end up with old water lingering inside.
Route the hose so it slopes downward the whole way to a sink or a container. Keep the end of the hose where you can see it, because a hose that slips out of a sink can dump water onto the floor. Also avoid submerging the hose end in standing water. That can create backflow risk and bad smells. A simple habit is to drain into an empty sink or a dedicated bucket, then rinse the sink or bucket right away.
Plumbed countertop setups: convenient refills, but drainage becomes a system
A plumbed countertop ice maker connects to a water line so it can refill automatically. That is convenient for frequent use, but it changes the ownership math. You are no longer just pouring water in and dumping it out. You are managing a small appliance that is always connected to your water supply, and you need a realistic plan for where wastewater goes during cleaning, draining, and any overflow scenarios.
If you are considering plumbed, think through three things: shutoff access, drainage location, and service space. You want to be able to turn water off without moving the machine. You also want a drain path that does not require lifting the unit. Finally, leave enough clearance to pull the machine forward for cleaning and hose inspection. A "set it and forget it" install usually turns into a mess when it is time to descale or move.
Daily habits: keeping water fresh and preventing soggy ice
Drainage is tied to ice quality because melted ice returns to the reservoir. If you let the machine run all day and keep scooping from the bin, you are often scooping a mix of fresh ice and ice that has partially melted and refrozen. That can lead to wet, clumpy ice and a stale taste if the reservoir water sits too long. The fix is not complicated, but it requires a routine.
For best results, treat the bin as a staging area, not storage. When you have enough ice, move it to the freezer in a bag or container. Then drain the reservoir if you are done for the day, especially if the machine will sit overnight. If you plan to keep using it, at least refresh the water periodically instead of topping off indefinitely. A machine that drains easily is a machine you will keep cleaner.
What this guide helps you understand
Pick a drain style and placement that makes it easy to empty and refresh the reservoir, because that is what keeps ice tasting clean and prevents mess.
Before buying, confirm you can drain the machine without lifting it over a floor, and that you can reach the drain point with a container or sink.
Technique notes
If your bin is not refrigerated, moving finished ice to the freezer reduces meltwater returning to the reservoir and improves consistency.
Safety note: Unplug the unit before moving it to drain, and keep water away from the power cord and outlet.